RemoteIoT projects using Raspberry Pi have gained immense popularity among tech enthusiasts, hobbyists, and professionals alike. The Raspberry Pi, a compact yet powerful single-board computer, offers endless possibilities for creating innovative IoT (Internet of Things) solutions. Whether you're setting up a home automation system, building a weather station, or developing a smart security system, this tutorial will guide you step-by-step to harness the full potential of Raspberry Pi in remote IoT applications.
As the world becomes more interconnected, the demand for IoT solutions continues to grow. From industrial automation to personal smart devices, the ability to control and monitor systems remotely is becoming increasingly essential. Raspberry Pi serves as an excellent platform for building cost-effective and scalable IoT projects, making it accessible even for beginners.
In this Raspberry Pi RemoteIoT tutorial, we will delve into the basics of setting up your Raspberry Pi for IoT applications, explore essential tools and software, and provide practical examples to help you get started. By the end of this guide, you'll have the knowledge and confidence to create your own remote IoT projects using Raspberry Pi.
Read also:Colin Farrells Journey Overcoming Drug Addiction And Inspiring Change
Table of Contents:
- Introduction to Raspberry Pi RemoteIoT
- Understanding Raspberry Pi Basics
- Overview of Remote IoT Applications
- Setting Up Your Raspberry Pi for Remote IoT
- Essential Software Tools for Raspberry Pi IoT
- Configuring Network Settings for Remote Access
- Implementing Security Measures in IoT Projects
- Practical Example Projects Using Raspberry Pi
- Common Issues and Troubleshooting Tips
- Conclusion and Next Steps
Introduction to Raspberry Pi RemoteIoT
Raspberry Pi has revolutionized the way we approach IoT projects. Its affordability, versatility, and ease of use make it an ideal choice for remote IoT applications. In this section, we will explore what Raspberry Pi is, its key features, and why it is so popular among IoT enthusiasts.
What is Raspberry Pi?
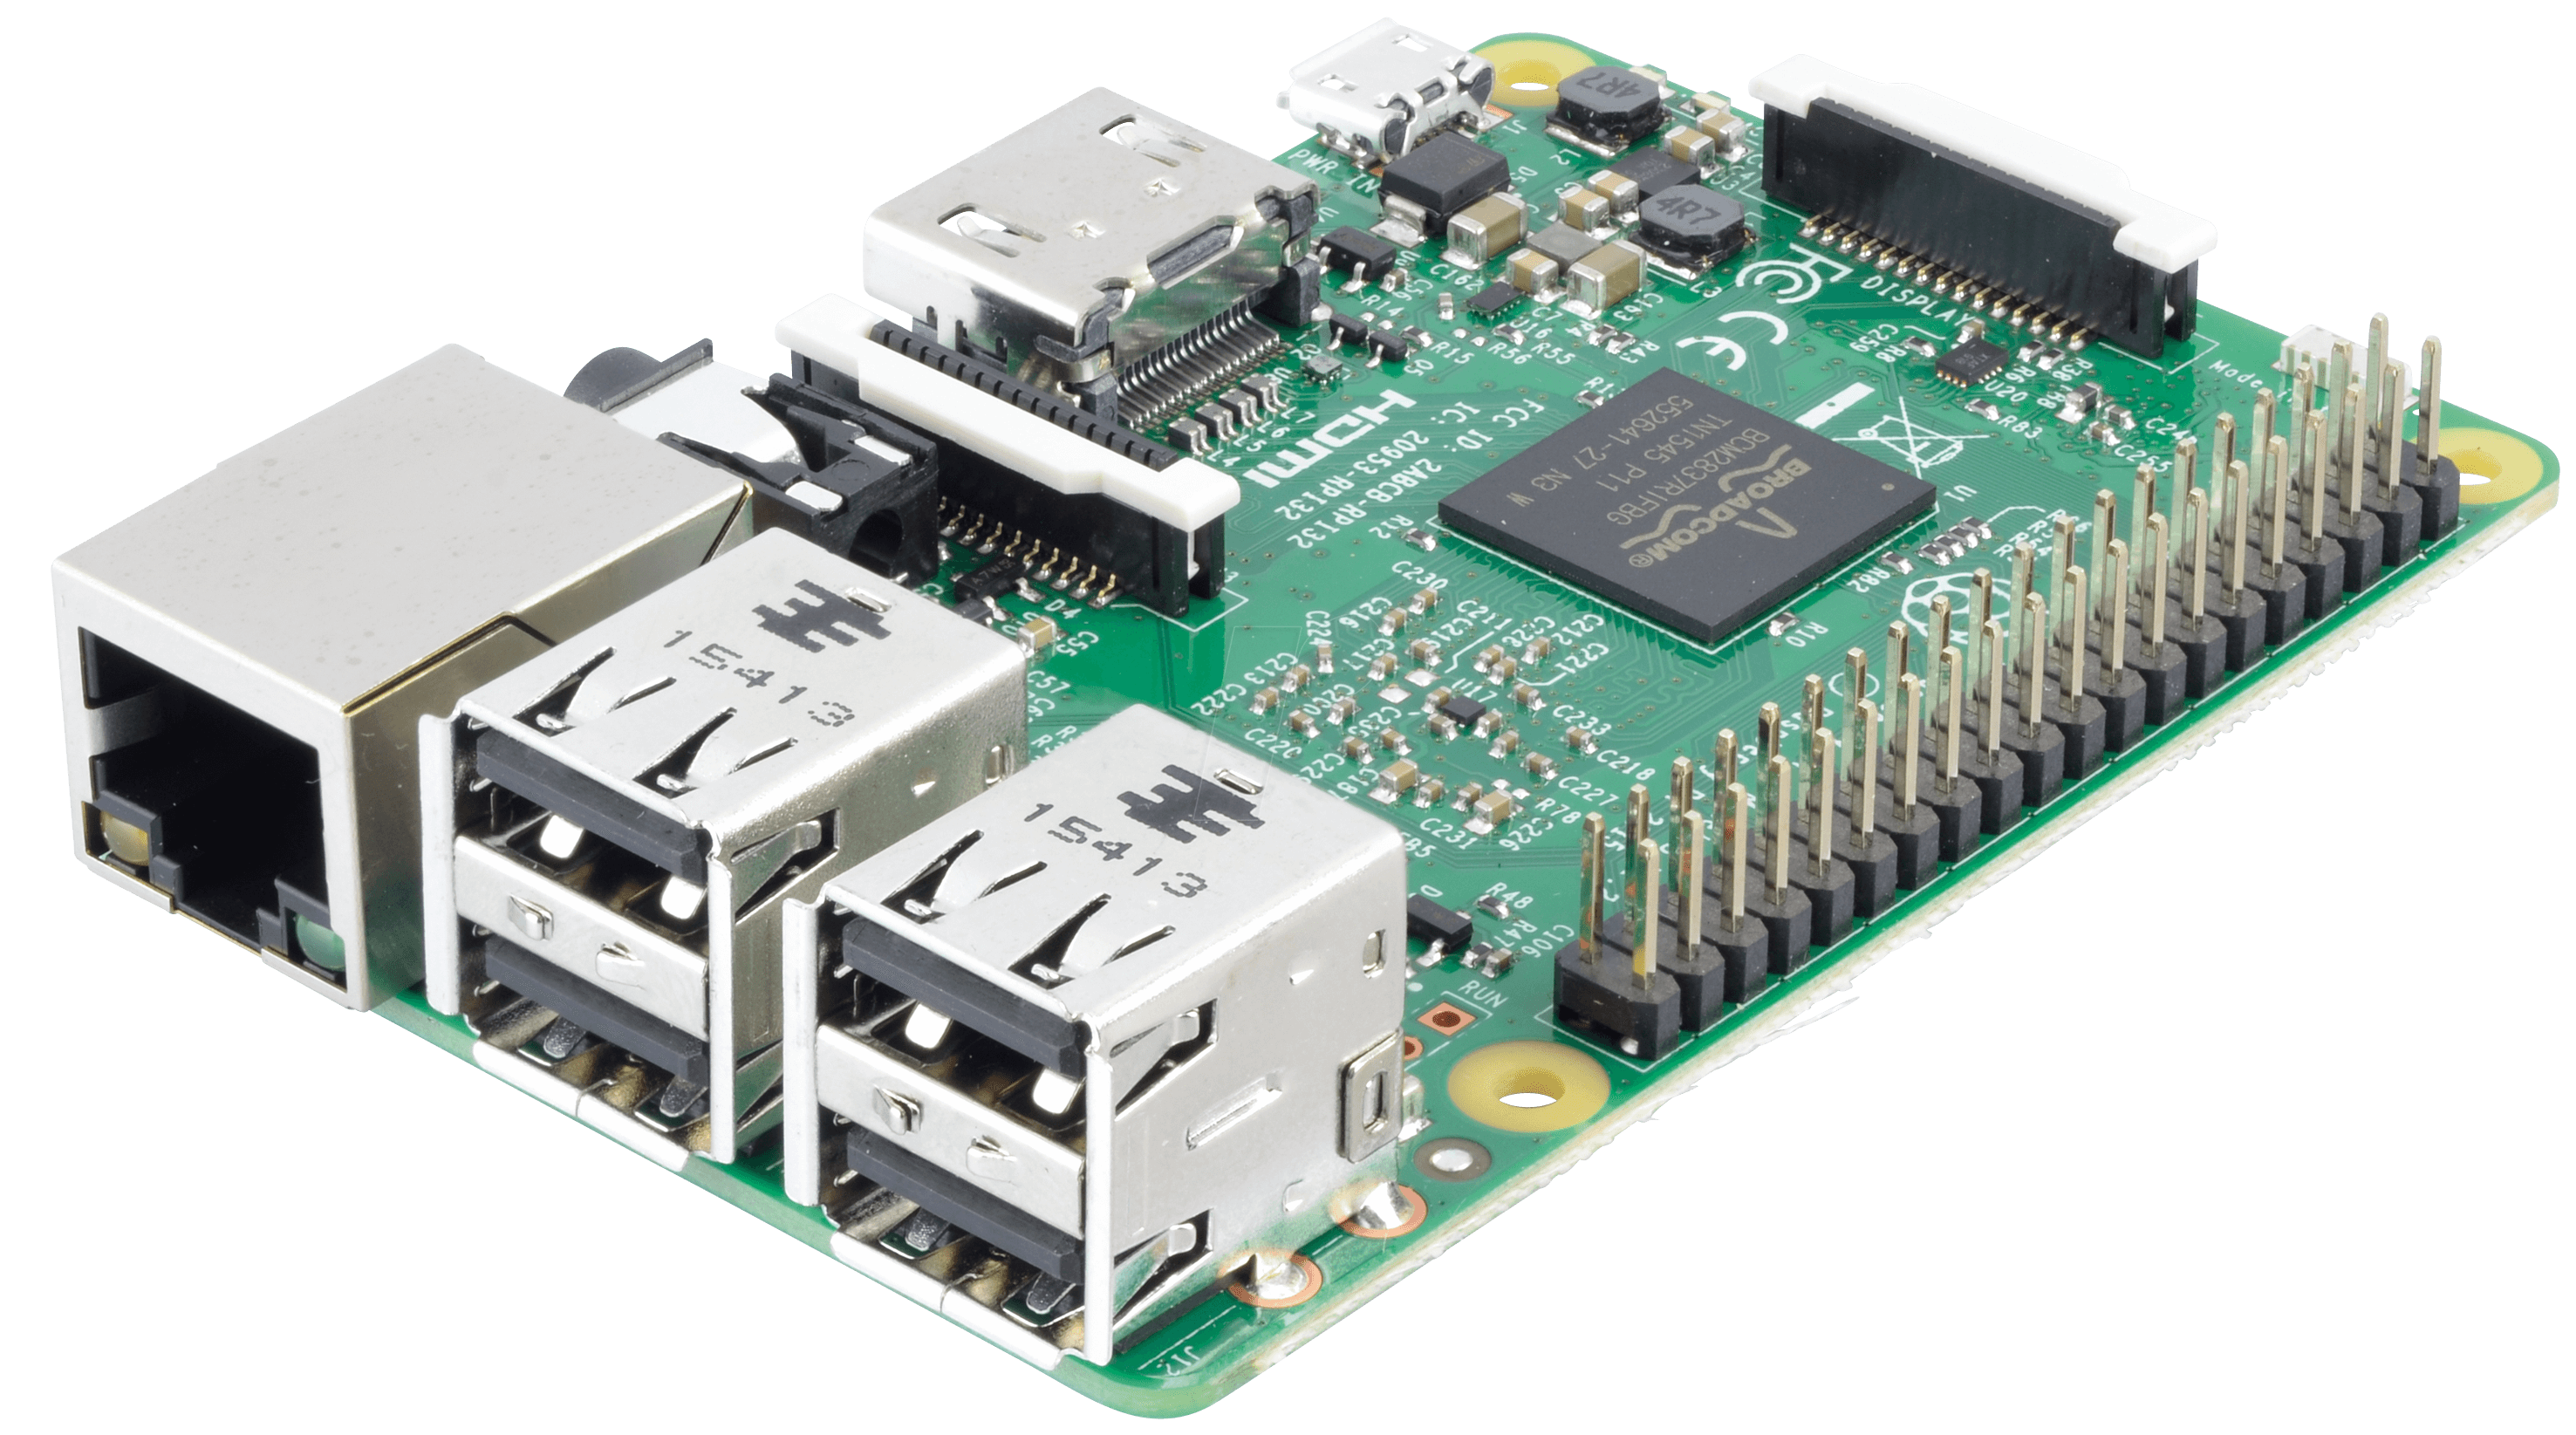
Raspberry Pi is a small, single-board computer developed by the Raspberry Pi Foundation. Despite its compact size, it packs powerful hardware that can run a full-fledged operating system. The latest models of Raspberry Pi come equipped with quad-core processors, multiple USB ports, HDMI output, and Wi-Fi connectivity, making it a versatile platform for various applications.
Why Choose Raspberry Pi for IoT?
There are several reasons why Raspberry Pi is a top choice for IoT projects:
- Affordability: Raspberry Pi is budget-friendly, making it accessible for hobbyists and small-scale projects.
- Community Support: A vast community of developers and enthusiasts provides extensive resources, tutorials, and forums for troubleshooting.
- Compatibility: Raspberry Pi supports a wide range of operating systems and programming languages, offering flexibility for developers.
- Expandability: With GPIO pins, Raspberry Pi can be easily integrated with sensors, actuators, and other external devices.
Understanding Raspberry Pi Basics
Before diving into remote IoT projects, it's essential to familiarize yourself with the basics of Raspberry Pi. This section covers the hardware components, operating systems, and setup procedures.
Hardware Components
Raspberry Pi consists of several key components:
Read also:Exploring The World Of Hdhub4u South Hindi Your Ultimate Destination For Entertainment
- Processor: A quad-core ARM processor that handles computations.
- Memory: Typically ranging from 1GB to 8GB, depending on the model.
- Connectivity: Built-in Wi-Fi, Bluetooth, and Ethernet for networking.
- GPIO Pins: General-purpose input/output pins for interfacing with external devices.
Operating Systems
Raspberry Pi supports a variety of operating systems, with the most popular being Raspberry Pi OS (formerly Raspbian). Other options include Ubuntu, Fedora, and specialized IoT-focused distributions.
Overview of Remote IoT Applications
Remote IoT applications allow users to monitor and control devices from anywhere in the world. This section explores the benefits, challenges, and potential use cases of remote IoT with Raspberry Pi.
Benefits of Remote IoT
Implementing remote IoT solutions offers several advantages:
- Real-Time Monitoring: Access live data from sensors and devices.
- Remote Control: Operate devices and systems without being physically present.
- Scalability: Easily expand your IoT network to accommodate more devices.
Challenges in Remote IoT
While remote IoT brings numerous benefits, it also presents challenges such as security risks, network reliability, and data privacy concerns.
Setting Up Your Raspberry Pi for Remote IoT
This section provides a step-by-step guide to setting up your Raspberry Pi for remote IoT applications.
Step 1: Hardware Preparation
Ensure you have the necessary hardware components, including the Raspberry Pi board, power supply, microSD card, and any additional peripherals.
Step 2: Installing the Operating System
Use Raspberry Pi Imager to install the desired operating system on your microSD card. Follow the official Raspberry Pi documentation for detailed instructions.
Step 3: Configuring Network Settings
Set up Wi-Fi or Ethernet connectivity to enable remote access to your Raspberry Pi.
Essential Software Tools for Raspberry Pi IoT
Several software tools are essential for developing IoT applications on Raspberry Pi. This section highlights some of the most commonly used tools.
Programming Languages
Python is the go-to language for Raspberry Pi IoT projects due to its simplicity and extensive libraries. Other languages like C++, JavaScript, and Node.js are also supported.
IoT Platforms
Platforms like MQTT, Node-RED, and Home Assistant simplify the development process by providing pre-built modules and integrations.
Configuring Network Settings for Remote Access
Remote access is a critical aspect of IoT projects. This section explains how to configure your Raspberry Pi for secure remote access.
Enabling SSH
SSH (Secure Shell) allows you to access your Raspberry Pi remotely via a terminal. Enable SSH in the Raspberry Pi configuration settings.
Setting Up Port Forwarding
Configure port forwarding on your router to allow external access to your Raspberry Pi.
Implementing Security Measures in IoT Projects
Security is paramount in remote IoT applications. This section discusses best practices for securing your Raspberry Pi and IoT devices.
Updating Firmware and Software
Regularly update your Raspberry Pi's firmware and installed software to patch vulnerabilities.
Using Strong Passwords
Implement strong, unique passwords for all accounts and services associated with your Raspberry Pi.
Practical Example Projects Using Raspberry Pi
This section provides hands-on examples of Raspberry Pi RemoteIoT projects.
Home Automation System
Create a home automation system that allows you to control lights, thermostats, and appliances remotely.
Weather Station
Build a weather station using sensors connected to your Raspberry Pi to collect and display real-time weather data.
Common Issues and Troubleshooting Tips
Encountering issues during your Raspberry Pi RemoteIoT project is inevitable. This section offers solutions to common problems.
Network Connectivity Issues
Check your Wi-Fi settings and ensure your router supports the required protocols.
SSH Access Problems
Verify that SSH is enabled and that port forwarding is correctly configured on your router.
Conclusion and Next Steps
Raspberry Pi RemoteIoT projects offer endless possibilities for innovation and creativity. By following this tutorial, you now have the foundational knowledge to embark on your own IoT journey. Remember to prioritize security, stay updated with the latest developments, and leverage the vast community resources available.
We encourage you to share your experiences, ask questions, and explore more advanced topics. Don't forget to check out our other tutorials and guides for further inspiration. Happy building!